
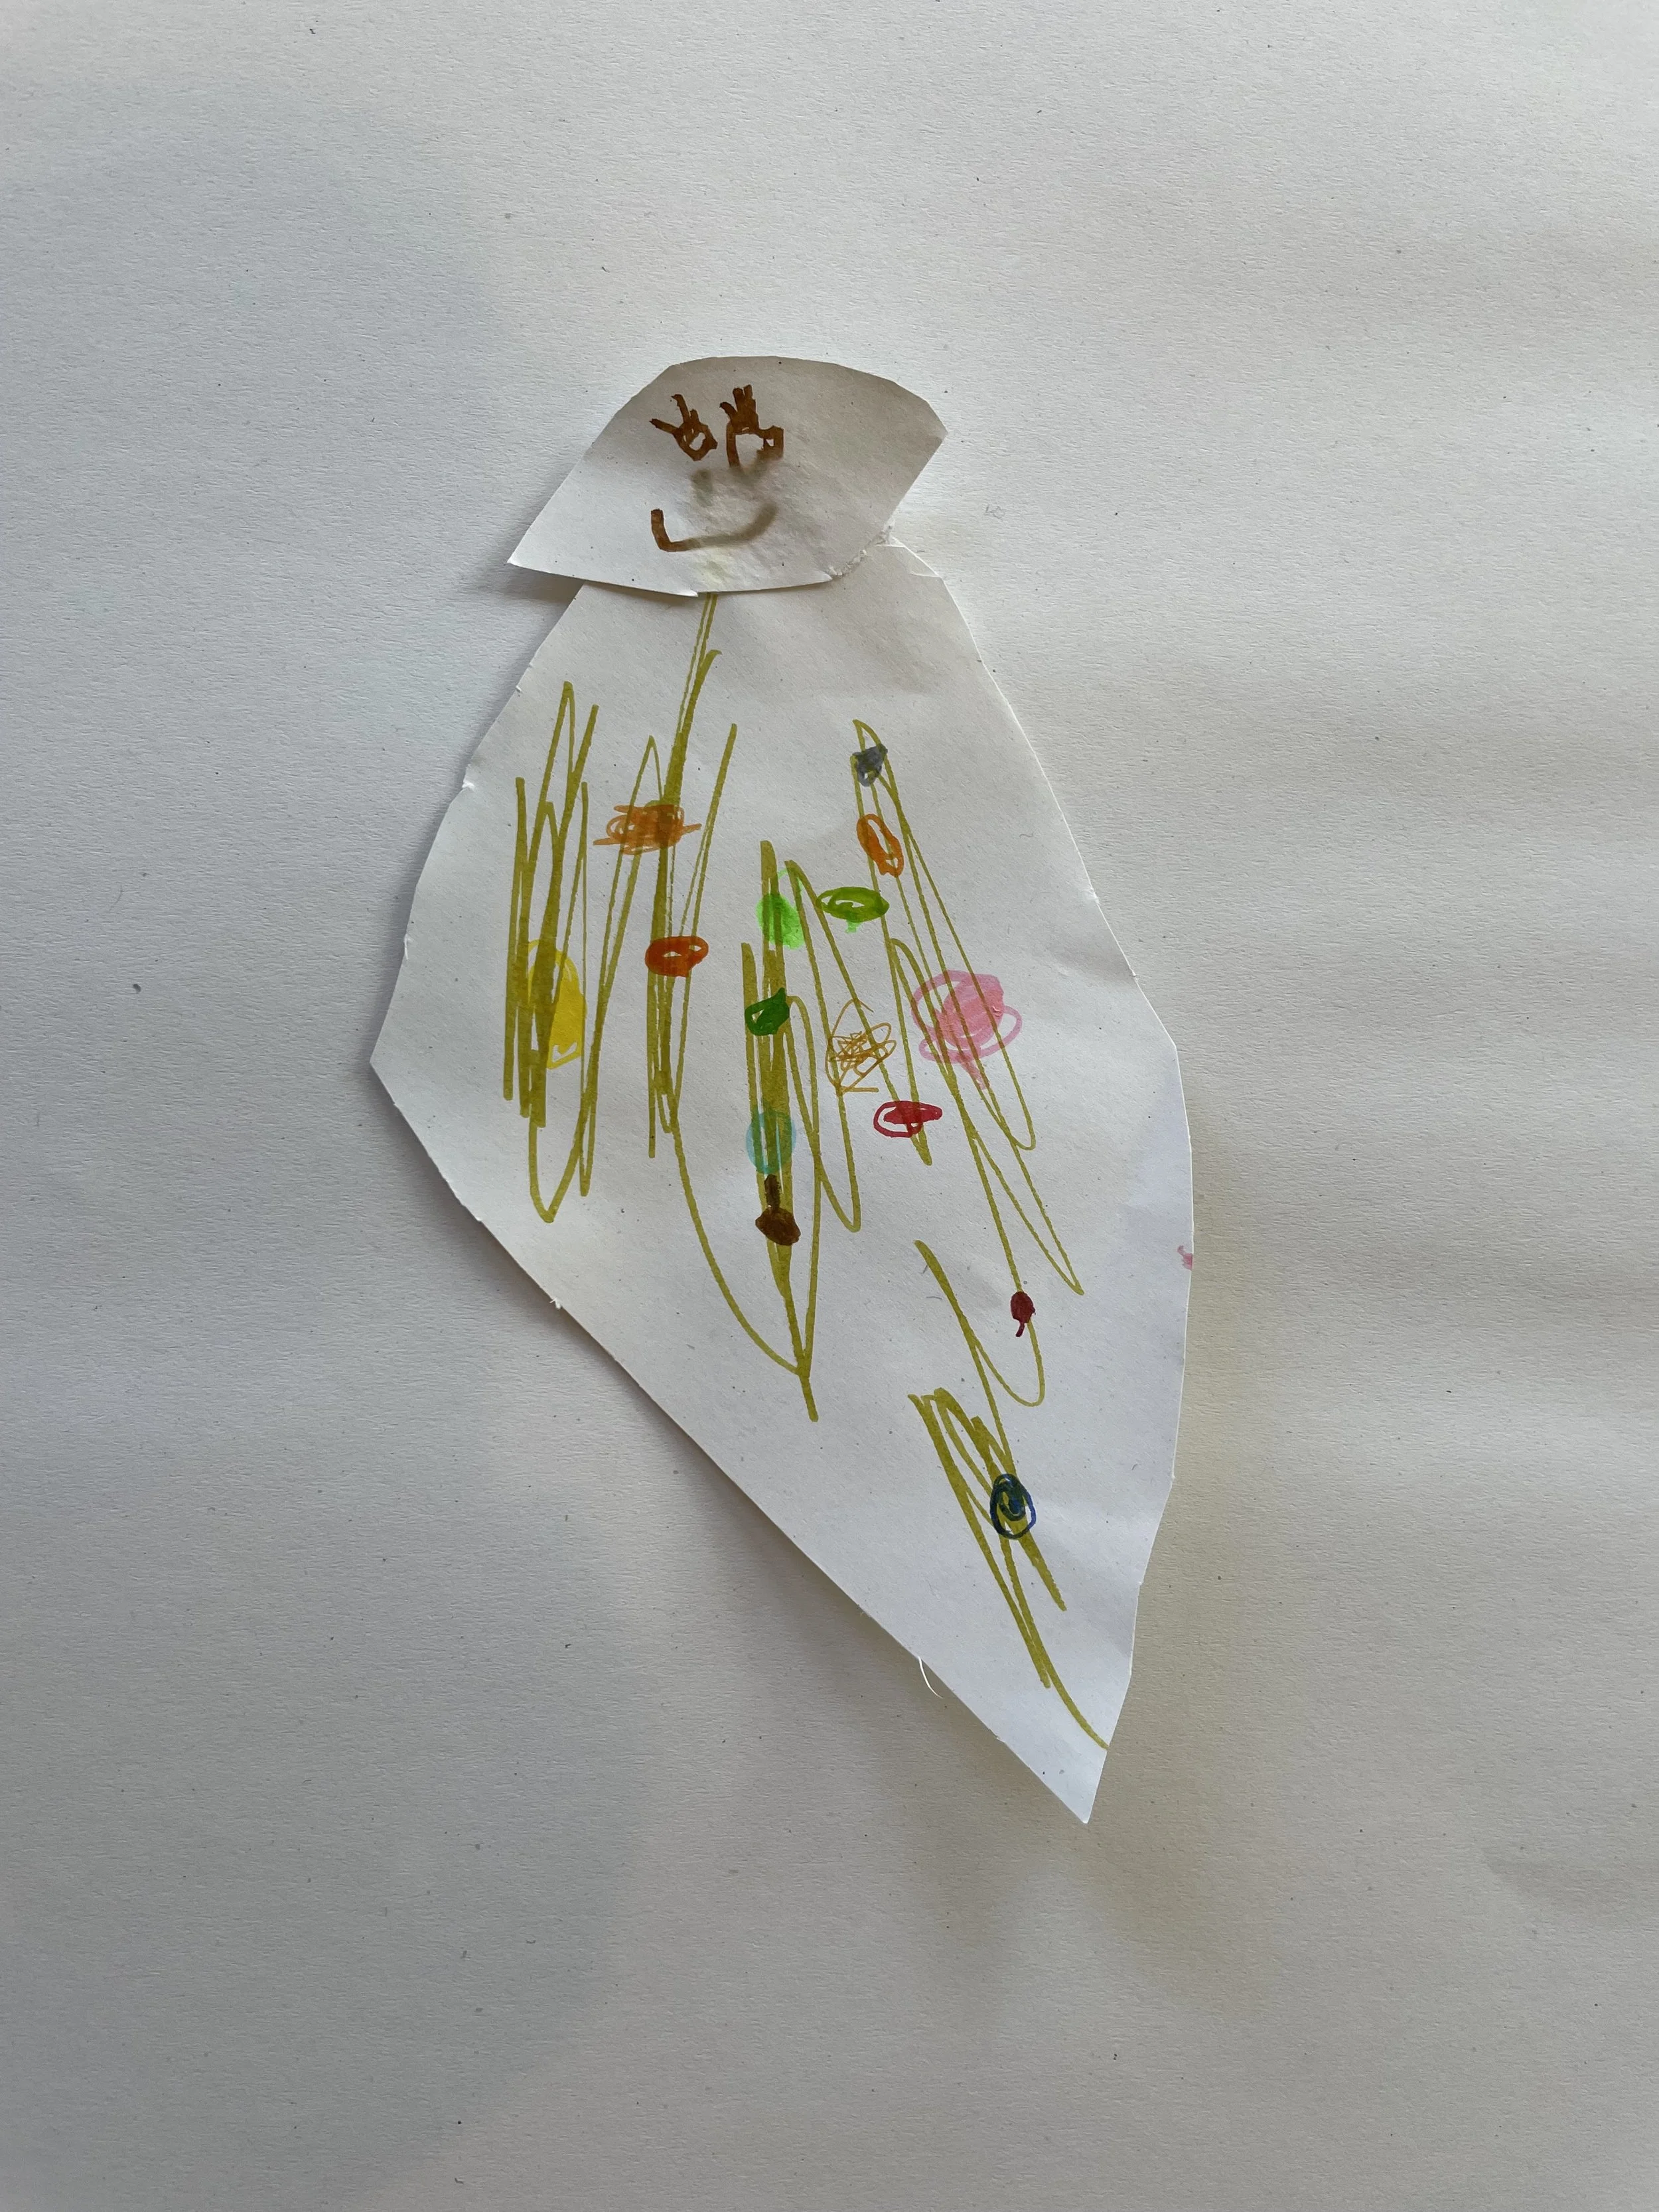
Art, little projects, and time with my kids.
I love making things with my children. Painting, clay, fabric, things we collect outside, sometimes we have an idea, and sometimes we discover it as we go.
Here I share projects we have enjoyed. You are welcome to try them, change them, and see where they take you.
Disclaimer, this is true kids art so not the standard instagram feed pictures, but the pure and raw, honest way of making art :)
Our latest projects
-
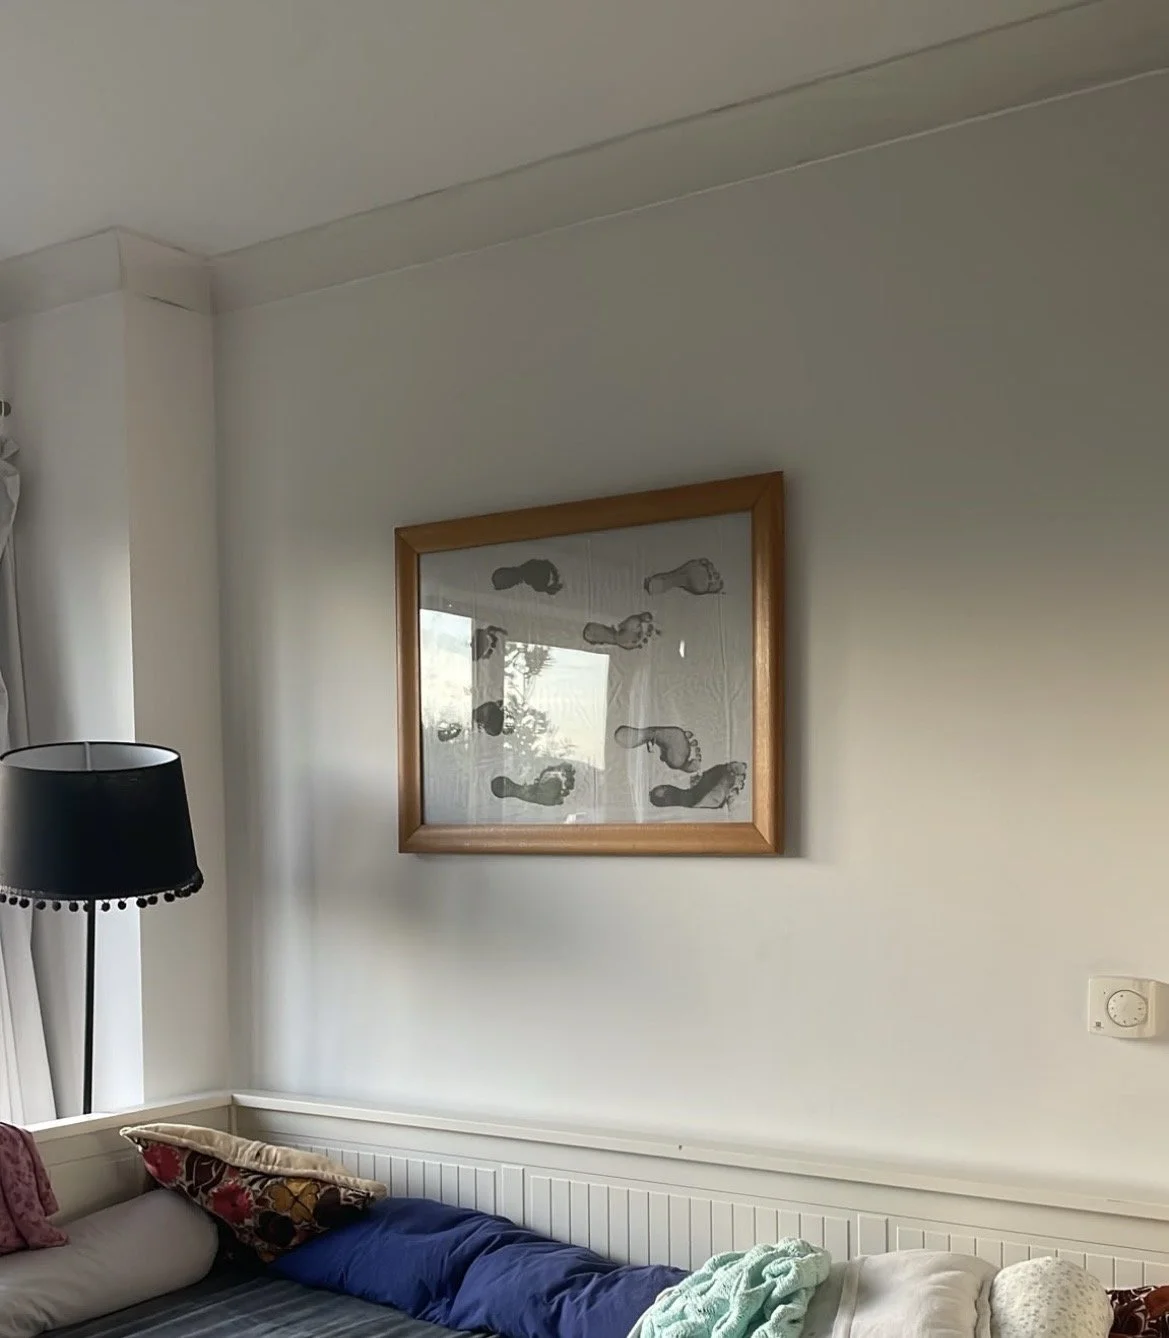
Little Footprints
A colourful keepsake to frame and remember their little feet.
What you need
Cotton fabric or a piece of canvas
Washable paint labelled suitable for children’s skin
A brush or sponge
A protective floor covering
A towel and water for washing feet
A picture frame
How to make it
Prepare your space. Protect the floor and lay the fabric flat, securing it so it cannot slide.
Choose your colours. Let your children pick the colours they would like to use.
Paint their feet. Apply a thin layer of skin-safe paint to the soles, following the product’s instructions.
Make footprints. Hold their hands as they step onto the fabric. Help them lift their feet and repeat wherever they like—painted feet can be slippery!
Wash and dry. Wash their feet straight afterwards and leave the artwork to dry completely.
Frame your creation. Trim the fabric to fit your frame. You could add the date or their ages on the back.
We used cotton fabric for ours. For painting directly on skin, choose skin-safe paint rather than ordinary acrylic paint.
A colourful keepsake to frame and remember their little feet.
-
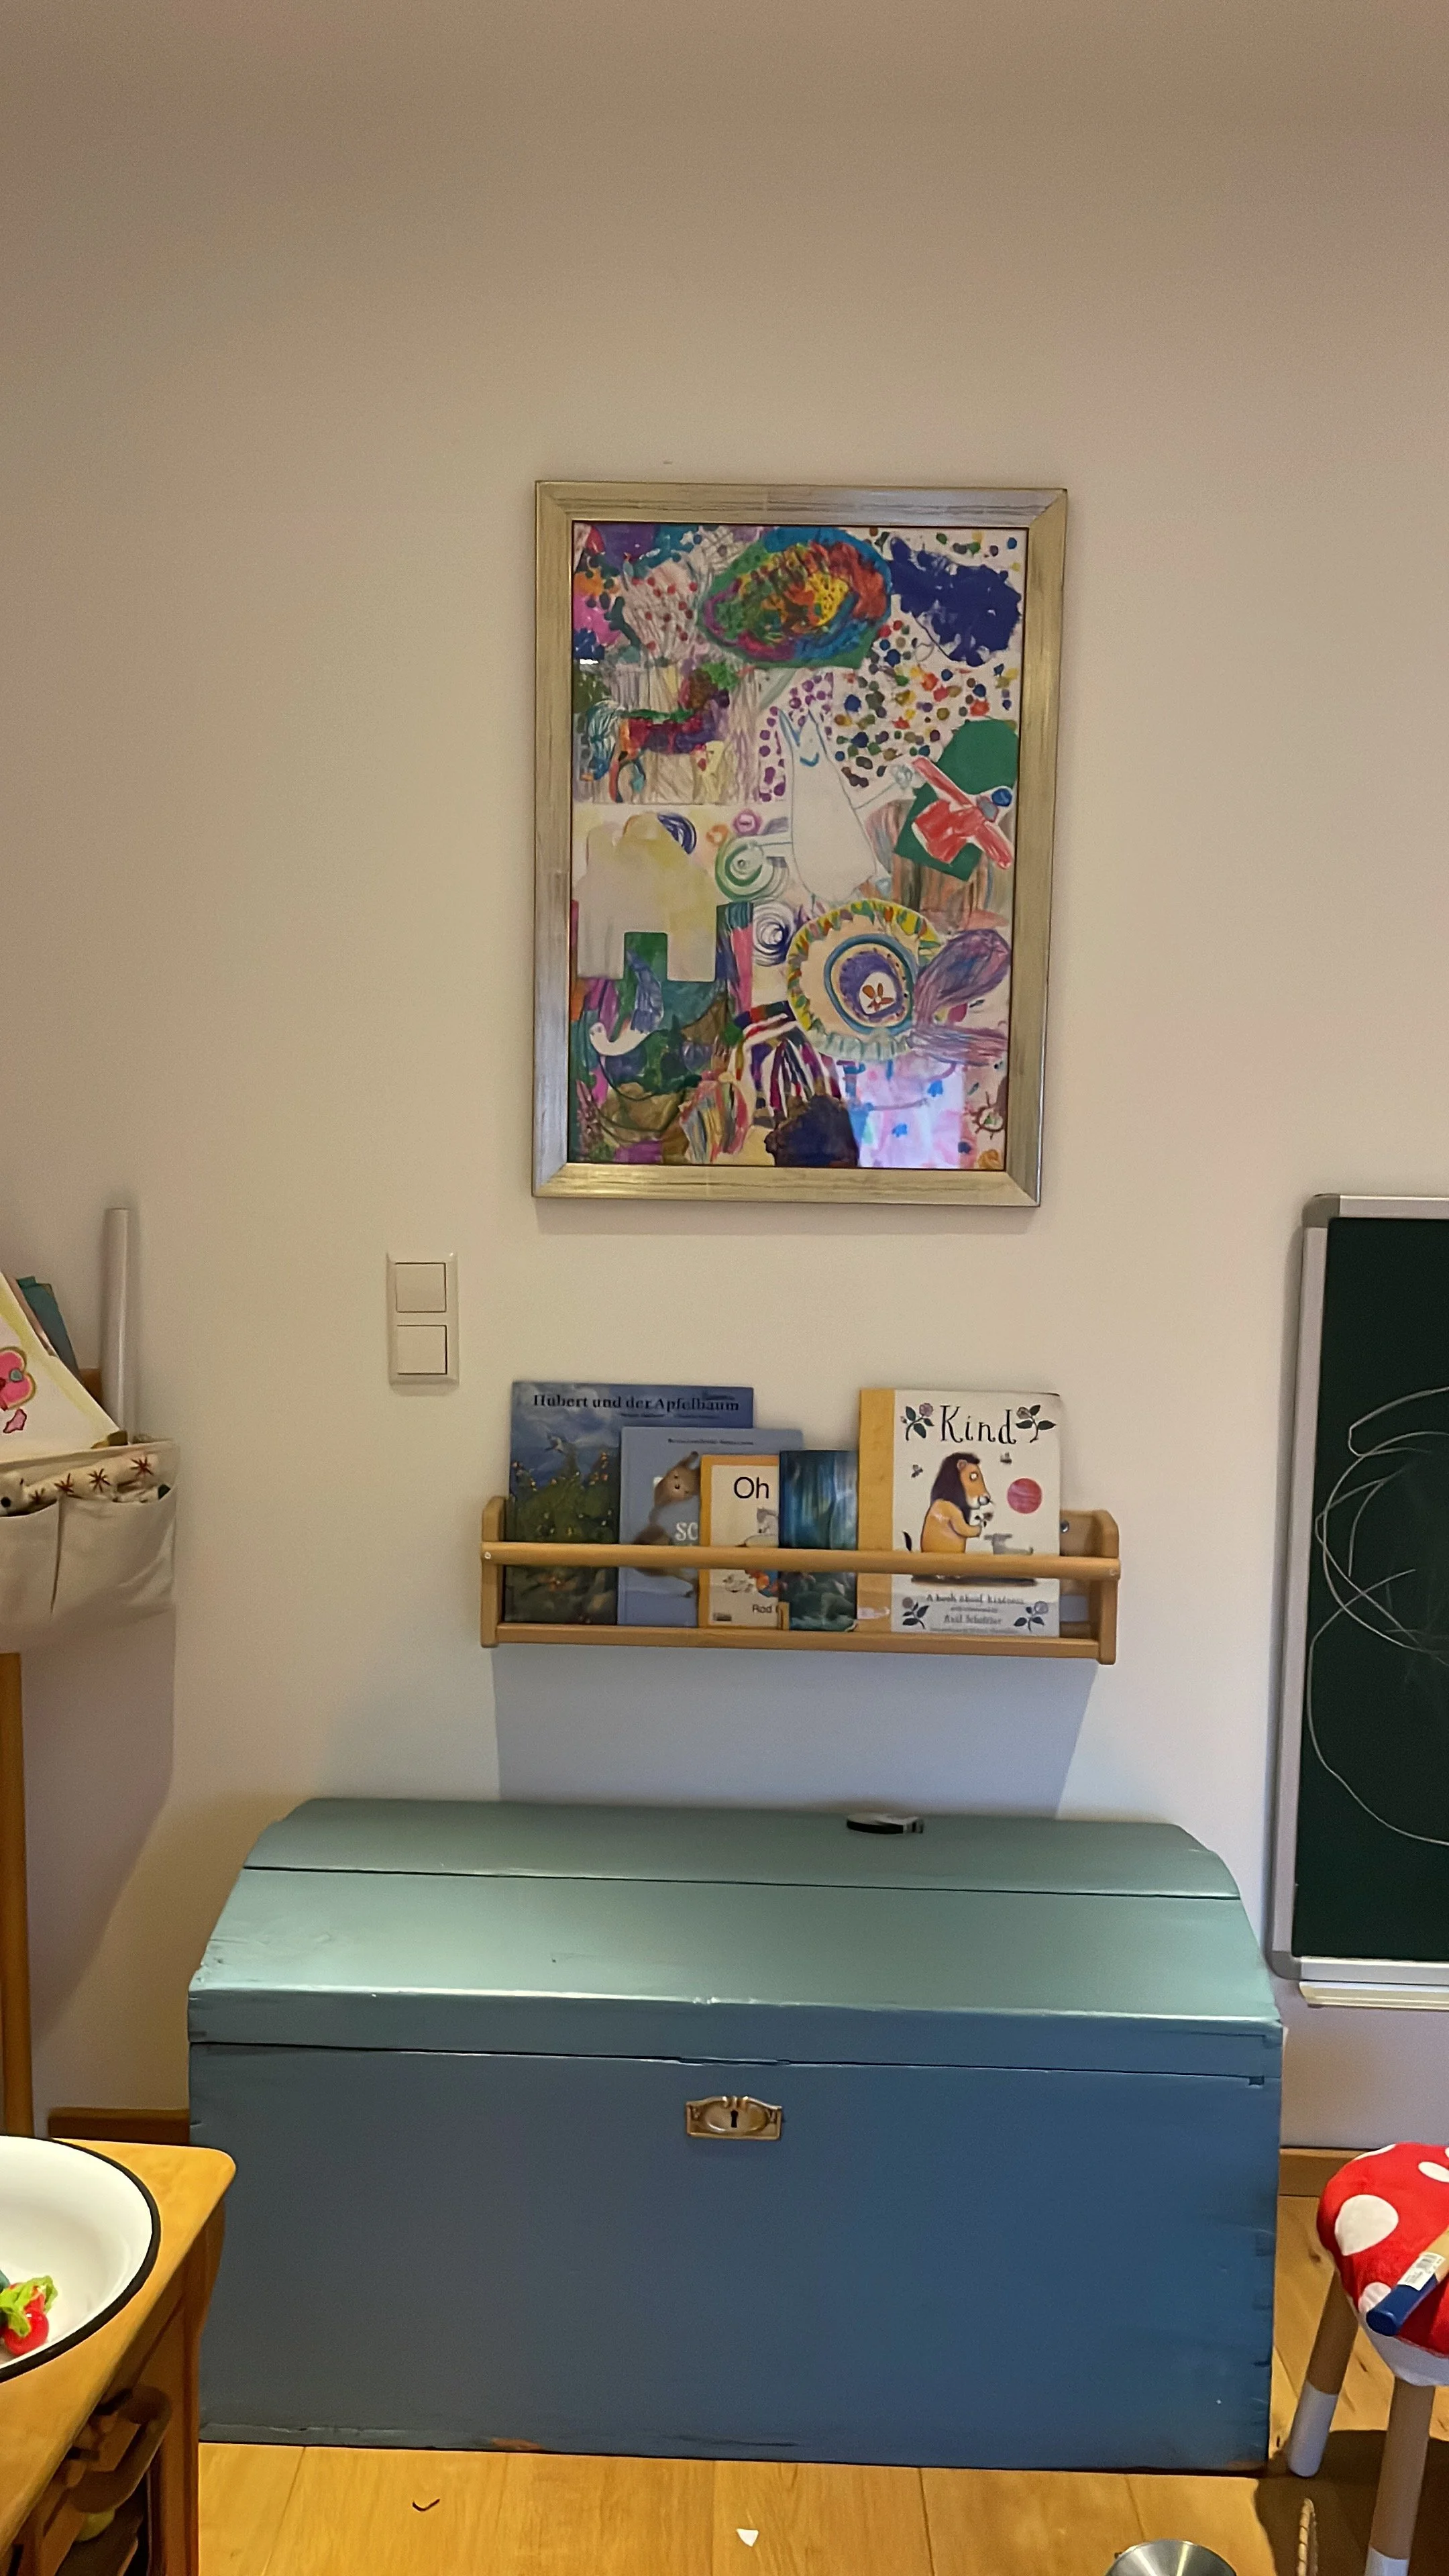
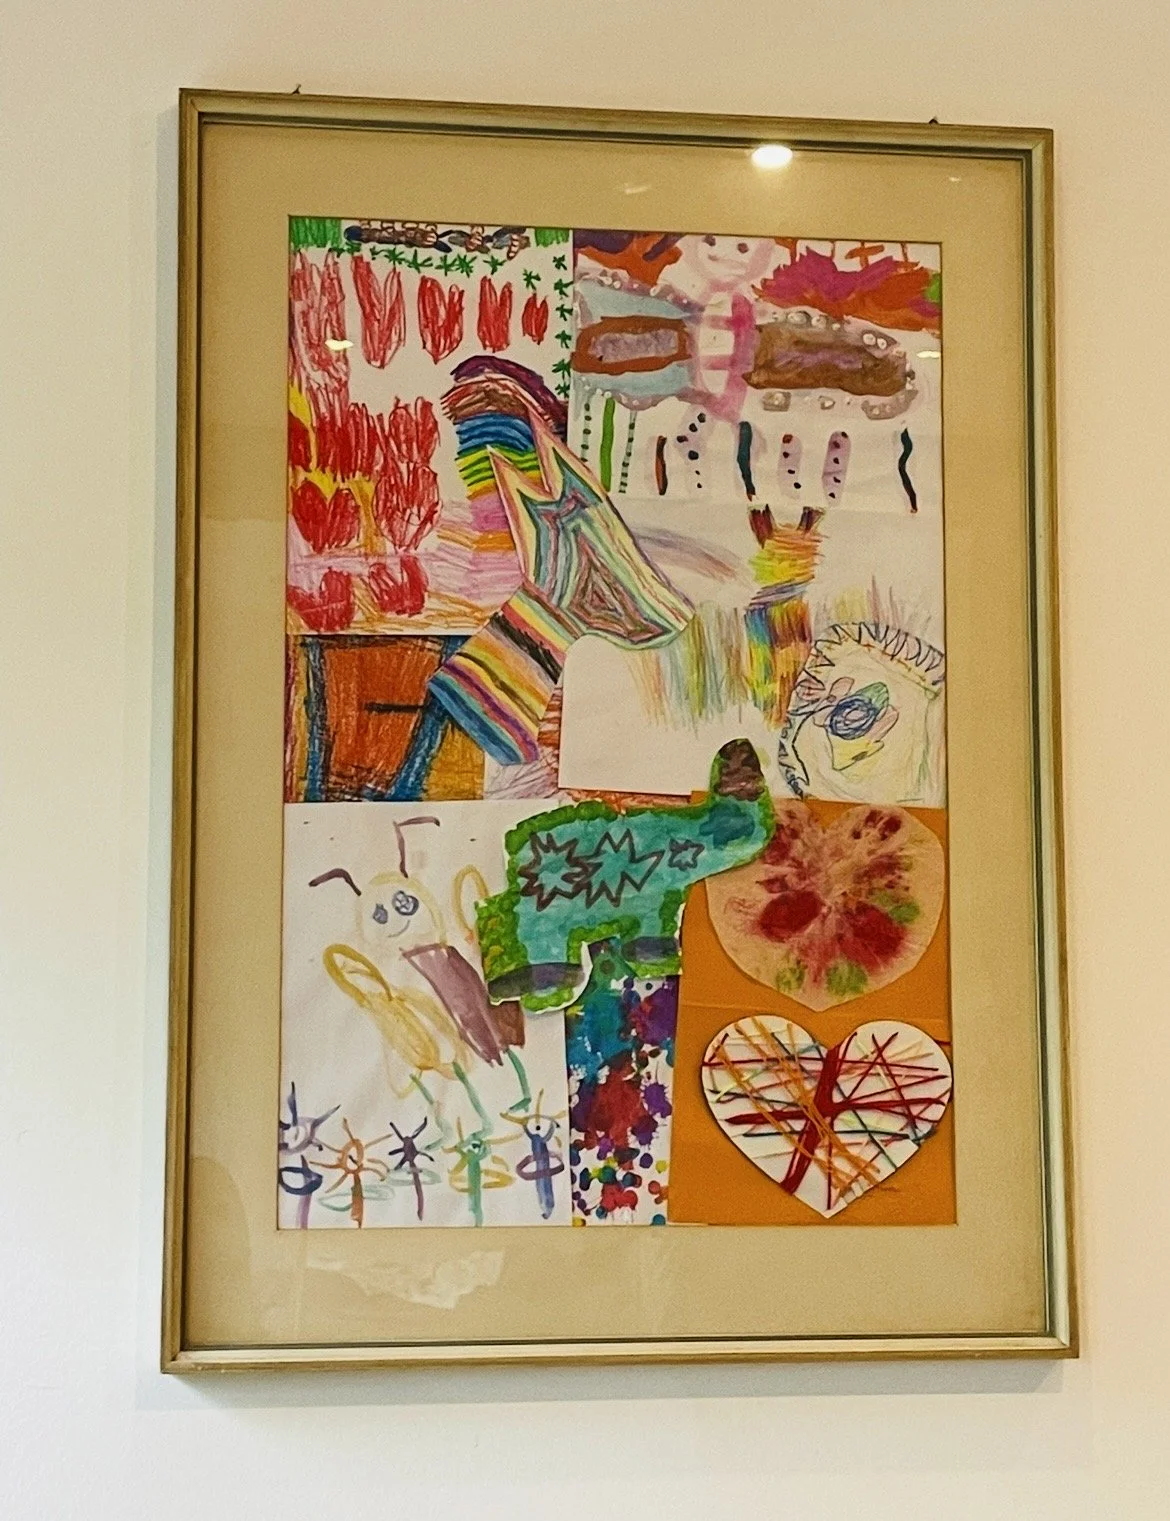
An Art Collage
A simple way to bring their colourful creations together.
What you need
A picture frame
A selection of your children’s artwork
Scissors
Glue
A sheet of paper or card to fit the frame
How to make it
Choose your pieces. Pick a few drawings or paintings together.
Cut them out. Make little shapes or keep your favourite details.
Arrange and glue. Play with the layout on your backing paper, then glue everything into place.
Frame it. Let the glue dry, pop it into the frame, and close it up.
Easy peasy—a little collection of their creativity, ready to hang.
A simple way to bring their colourful creations together.
-
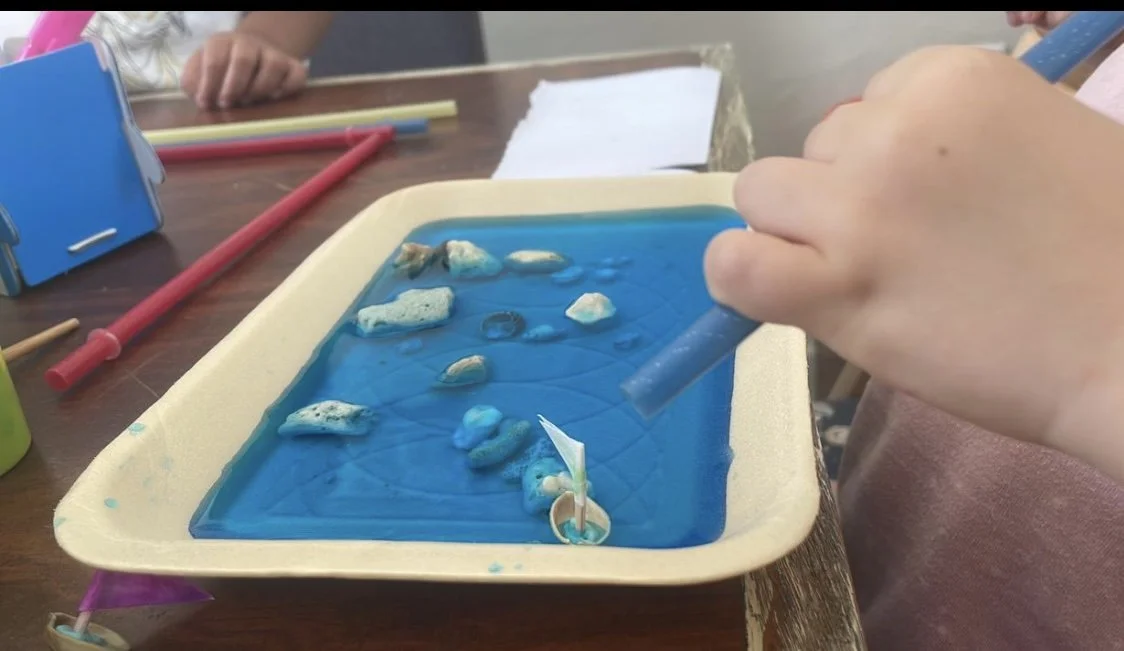
Little Pistachio Boats
Make a tiny world for your boats, then see where the wind takes them!
What you need
Empty pistachio shell halves
A little modelling clay (or hot glue gun)
Toothpicks and small pieces of paper for sails
A shallow tray, dish, or wide bowl
Water and a few drops of food colouring
Stones, leaves, and other treasures collected outside
Straws
How to make it
Build your boats. Put a little modelling clay inside each shell. Add a paper sail to a toothpick and gently press it into the clay.
Make your water. Fill your tray with enough water for the boats to float. Add a few drops of food colouring.
Create your little world. Arrange stones and leaves to make islands, shores, or a winding route.
Set sail. Place the boats on the water and gently blow through a straw to move them along.
Fancy a race? Choose a finish line and race your own boats—or play in teams. You can also work together to guide a boat around the islands.
An adult should help with toothpicks and supervise small pieces. Blow through the straws rather than sucking up the water.
Make a tiny world for your boats, then see where the wind takes them!
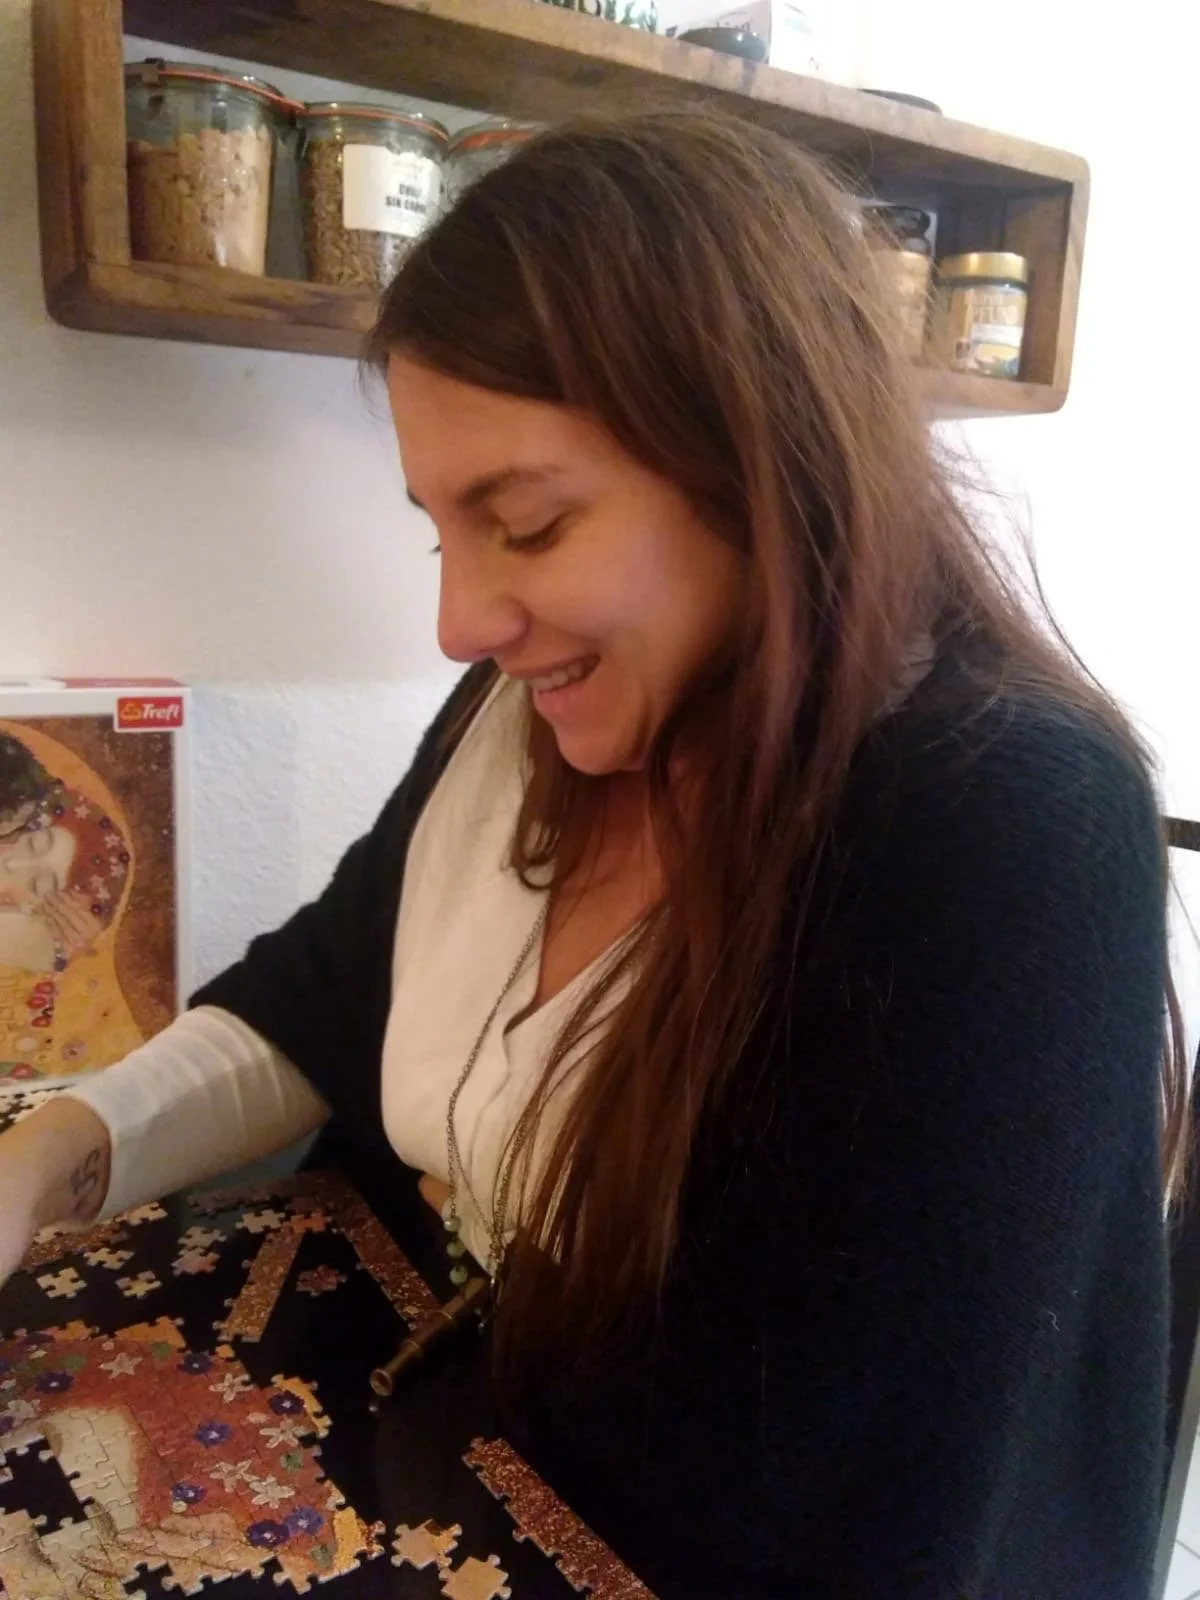
“When I make art with my children, I get to discover something alongside them.
I love that we don’t always know where we’re going.”